模板引擎
与layui的有区别, 进行了再封装
### 引入模板引擎
**1. body中引入**
```html
<div class="tableBody" id="mainContainer"></div>
```
**2. js中使用**
```javascript
jetpl('#mainModel').render({ // jetpl 可直接使用, 无需引入
data: res.data // 请求接口返回的数据
}, function (str) {
$('#mainContainer').html(str);
form.render(); // 如果是写在表单中, 则需要刷新表单
})
```
**3. script中引入**
```html
<script id="mainModel" type="text/html"></script> <!--名称要一一对应-->
```
写入 id = "mainModel" 的内容示例
**4. 列表内容 forEach() 循环输出**
在`script`中使用
```html
{% var list = data.list; %}
{% list && list.forEach(function(item){ %}
<!-- 内容 -->
{% }) %}
```
**需要使用 js 代码时, 用 `{% %}` 引入即可, 与layui官方不同**
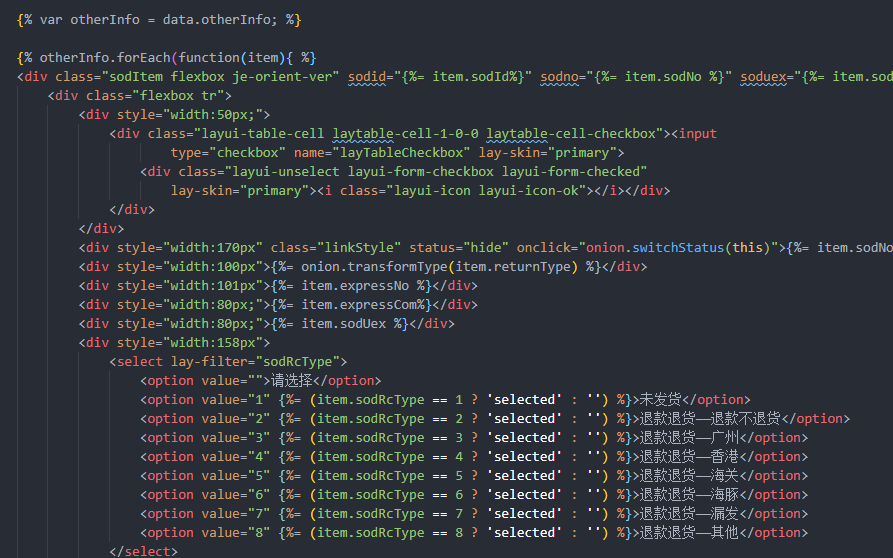
**循环输出示例**
使用模板引擎循环输出了退货单列表

### 具体操作
#### 自定义属性操作
在标签中按以下格式设置
```html
<div id = "{%= item.id%}"></div>
```
在 JS 中找到
```javascript
function getSelectedVal() {
var result = [];
// 在body中的id名
// 若需要找到被选中的, 则要find('.layui-form-checked'), 一般是使用checkbox
// 遍历找到的内容
$('#mainContainer').find('.layui-form-checked').each(function (idx, item) {
var item = {};
var target = $(this).closest('.sodItem'); // 获得父级标签内容
item.id = target.attr('id'); // 获得属性
item.inputText = target.find('.inputText').val(); // 若有文字输入
result.push(item);
})
return result; // 返回一个对象, 为模板引擎中的自定义属性
}
// 需要使用时调用即可
```
#### 自定义方法
以下场景用于判断要显示在页面中的内容, 尽量不将 js 代码写在模板引擎中, 而是通过方法调用 js
```html
{%= onion.transformType(item.type) %}
```
在 js 中写方法
```javascript
onion.transformType = function (type) {
if (type == 1) {
return '类型一';
} else {
return '未知';
}
}
```
#### 点击事件
以下事件为设置dom的显示和隐藏
```html
<div status="hide" onclick="onion.switchStatus(this)"></div>
<!-- 要隐藏的子节点 -->
<div class="childSodItem layui-hide"></div>
```
```javascript
onion.switchStatus = function (that) {
var status = $(that).attr('status');
// 找到父节点下, 需要操作的子节点
var target = $(that).closest('.sodItem').find('.childSodItem');
if (status == 'hide') {
target.removeClass('layui-hide'); // 增加或移去css
$(that).attr('status', 'show'); // 再次设置属性
} else {
target.addClass('layui-hide');
$(that).attr('status', 'hide');
}
}
```
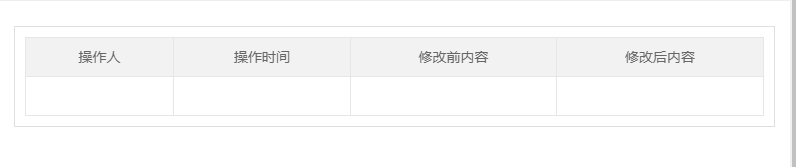
### 使制作数据表格
#### HTML 代码
使用 table
```html
<div class="layboxn mt10" id="Table"></div>
```
script 标签中
```html
<script type="text/html" id="Model">
<table class="layui-table">
<thead>
<tr>
<th>操作人</th>
<th>操作时间</th>
<th>修改前内容</th>
<th>修改后内容</th>
</tr>
</thead>
<tbody>
{% var list = res.data; %}
{% if (list.length !== 0) { %}
{% for(var i = 0; i < list.length; i++){ var item = list[i]; %}
<tr>
<td>{%= item.createUserName || ''%}</td>
<td>{%= item.createTime || ''%}</td>
<td>{%= item.contentBefore || ''%}</td>
<td>{%= item.contentAfter || ''%}</td>
</tr>
{% } %}
{% } else { %}
<tr>
<td></td>
<td></td>
<td></td>
<td></td>
</tr>
{% } %}
</tbody>
</table>
</script>
```
改一下css
```css
.layui-table th,
.layui-table td {
height: 20px;
text-align: center;
}
```
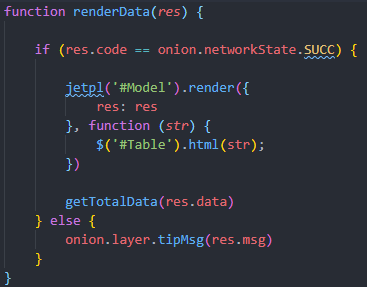
#### JS代码
```javascript
onion.ajax.get(url, function (res) {
if (res.code == onion.networkState.SUCC) {
jetpl('#Model').render({
res: res
}, function (str) {
$('#Table').html(str)
})
} else {
onion.layer.tipMsg(res.msg)
}
})
```
#### 列表搜索
因为渲染列表的代码使用了 html(), 故重复渲染多一次即可展示搜索后的列表
初次渲染

点击搜索

渲染函数
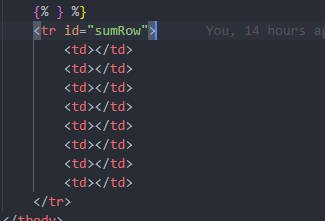
#### 合计总数
在模板的 for 循环外, 新增一行
合计函数, 使用 find() 获取到每一个 td
```javascript
function getTotalData(data) {
$("#sumRow").find("td:eq(0)").html('合计')
// 多少列设置多少个
// 因为合计需要设置初始值为 0 , 故使用字面量定义
var sumList = [0, 0, 0, 0, 0, 0, 0]
for (var i = 0; i < data.length; i++) {
sumList[0] += data[i].expressNoSum
...
}
for (var j = 0; j < sumList.length; j++) {
$("#sumRow").find("td:eq(" + (j + 1) + ")").html(sumList[j])
}
}
```

### 制作TodoList类型组件